Easy Oreo Rice Krispie Treats Recipe
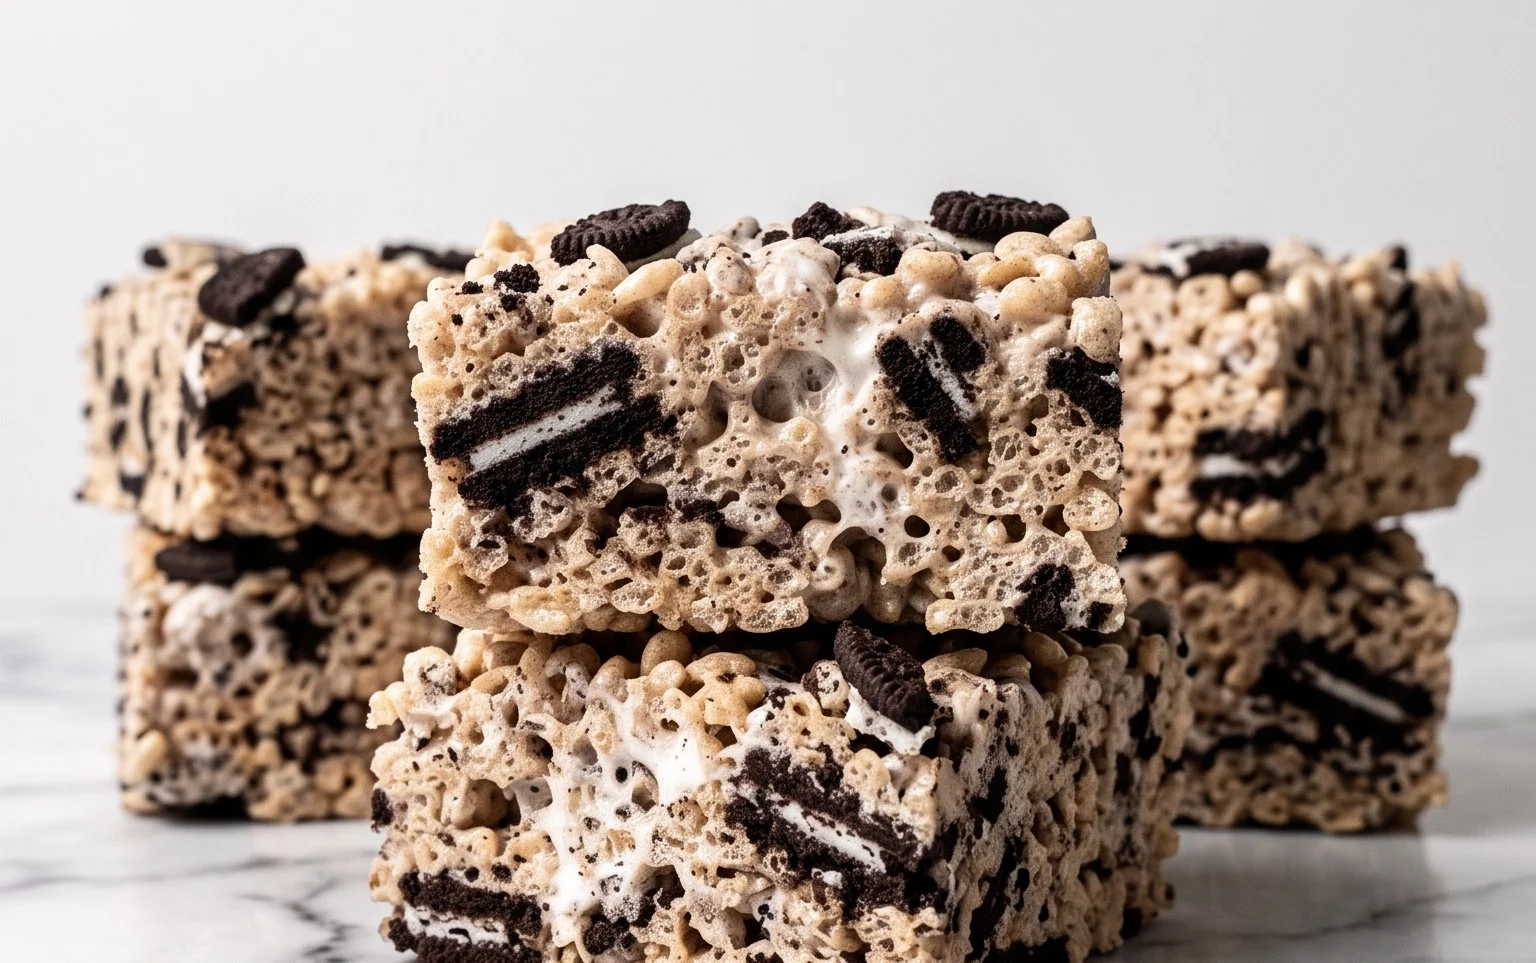
Oreo Rice Krispie Treats are a seriously good upgrade to a classic snack. Imagine a chewy, gooey bar packed with crumbles of everyone’s favorite chocolate sandwich cookie. That’s exactly what we’ve got here. These aren’t your average Rice Krispie squares; they’re loaded with chunks of Oreo, adding that perfect dark chocolate and creamy filling contrast to the sweet, buttery cereal base. It’s a simple recipe that feels fancy, making them ideal for birthday parties, bake sales, or just satisfying a serious craving on a random Wednesday. The magic happens when the marshmallows melt just right, creating that signature pull, and the Oreos get baked in, softening slightly but still providing that delightful cookie crunch. They bring together two beloved treats into something truly special and are surprisingly quick to make once you have your ingredients prepped.
Oreo Rice Krispie Treats
The irresistible crunch of Rice Krispies combined with the decadent chocolatey creaminess of Oreos makes for a snack that’s hard to beat. These Oreo Rice Krispie Treats take a classic childhood favorite and give it a grown-up twist, perfect for potlucks, parties, or just a really good Tuesday. We’re talking about a chewy, gooey, chocolate-studded treat that’s surprisingly easy to whip up. The key is in the proportions and a little patience when melting those marshmallows. Getting that perfect sticky texture is half the fun, and the little chunks of Oreo scattered throughout? Pure magic.
Ingredients:
- ½ cup unsalted butter
- 20 ounces mini marshmallows
- 1 teaspoon vanilla extract
- 1 pinch salt
- 7 cups Rice Krispies cereal
- 24 Oreo cookies
Making the Marshmallow Base
First things first, let’s get our pan ready. You’ll want to take a 9×13 inch baking dish and grease it well. I like to use a non-stick cooking spray, but you can also use butter or a bit of shortening. Make sure to get into all the corners. This step is super important because those marshmallow treats can get pretty sticky, and nobody wants to spend ages scraping them out of the pan. Once greased, set it aside. Now, grab a large pot or a Dutch oven – something with plenty of room for all those ingredients. Melt the ½ cup unsalted butter over low heat. We want it melted, not browned. Keep the heat gentle to avoid burning the butter, which can impart an off-flavor to your treats.
Once the butter is fully melted, add the 20 ounces of mini marshmallows to the pot. Mini marshmallows melt more evenly and quickly than the large ones, so they’re my go-to for this recipe. Stir them constantly with a heat-safe spatula or wooden spoon. This is where patience comes in. You’re looking for a smooth, creamy, and completely melted consistency. Don’t rush this part by turning up the heat, as scorched marshmallows are also no fun. Keep stirring gently until there are no lumps left and the mixture is a uniform, glossy white.
After the marshmallows are perfectly melted and smooth, stir in the 1 teaspoon of vanilla extract. The vanilla adds a lovely warmth and depth of flavor that really complements the chocolate from the Oreos. Next, add a pinch of salt. This might seem small, but that little bit of salt is a flavor enhancer; it balances the sweetness and makes all the other flavors pop. Stir these in until they’re fully incorporated into the marshmallow mixture.
Adding the Crunch and Chocolate
Now it’s time to add the star components! Remove the pot from the heat. It’s important to do this while the marshmallow mixture is still hot so everything mixes easily. Add the 7 cups of Rice Krispies cereal to the pot. Gently fold the cereal into the marshmallow mixture using your spatula. You want to coat every single piece of cereal without crushing them. Work carefully and deliberately to ensure an even distribution of cereal.
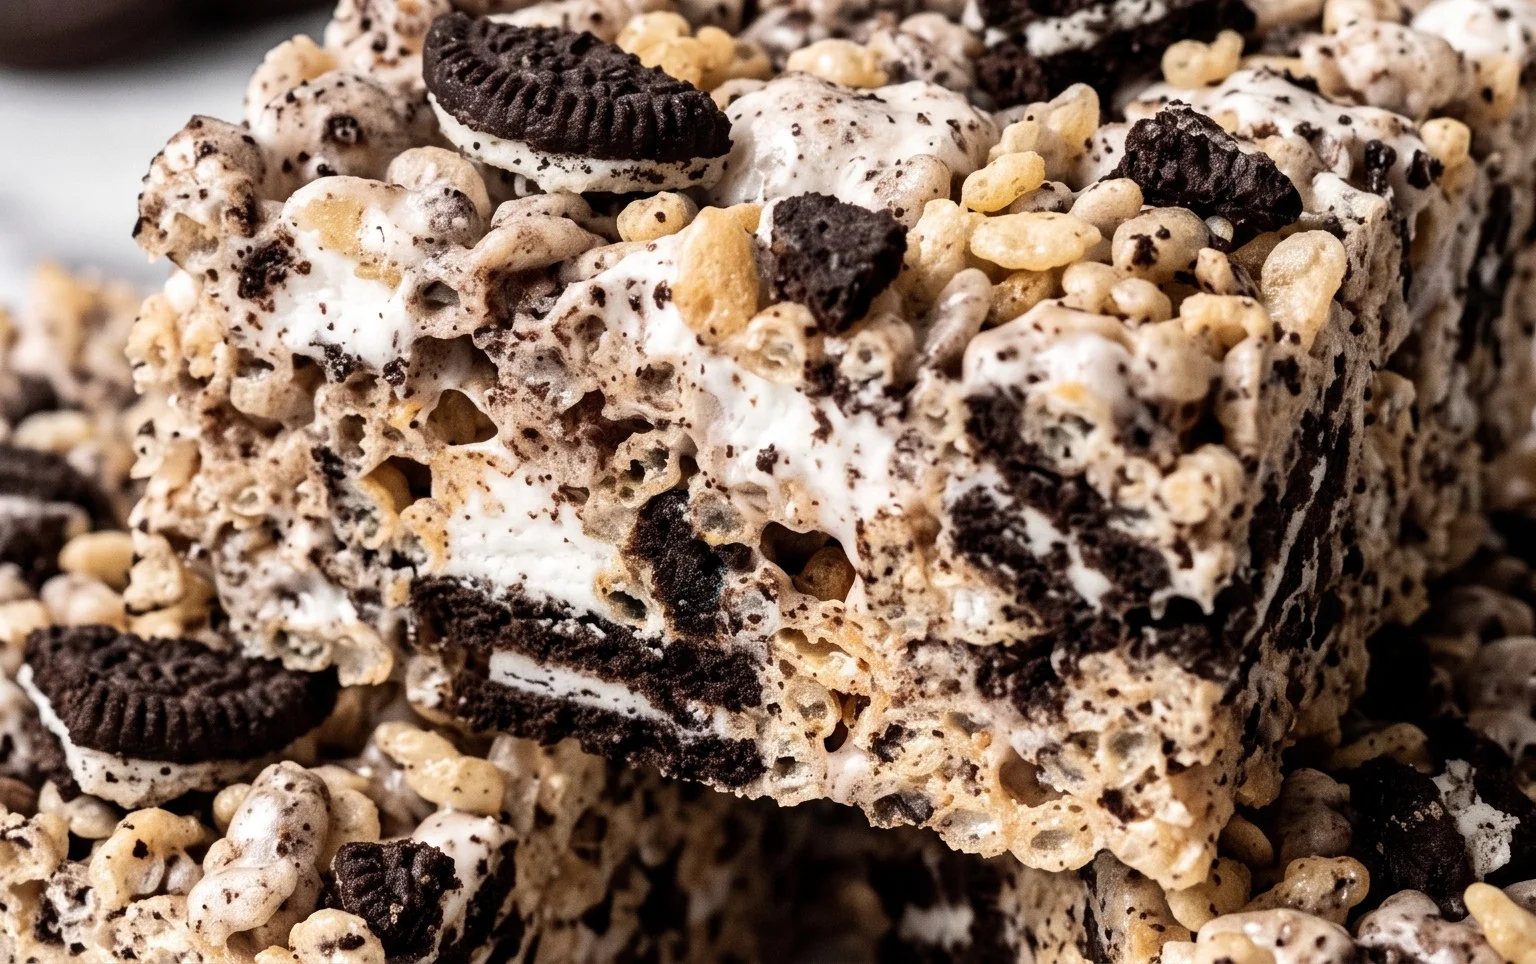
For the Oreo magic, you’ll want to prepare your 24 Oreo cookies. You can do this by roughly chopping them. I like to put them in a zip-top bag and give them a few good whacks with a rolling pin or the bottom of a heavy pan. You want chunks, not fine crumbs, so aim for pieces that are about quartered or slightly smaller. You can also use a knife to chop them, but make sure not to over-process them. Some people prefer to leave them in larger pieces for bigger bursts of chocolatey goodness. Once chopped, add these delicious Oreo pieces to the cereal and marshmallow mixture. Fold them in gently. The goal is to distribute the Oreo chunks evenly throughout the cereal mixture. You don’t want all the Oreos to clump together at the bottom or top.
Pressing and Setting
Once everything is mixed together, it’s time to get them into the prepared pan. Spoon the mixture into the greased 9×13 inch baking dish. Now, here’s the trick for getting them nice and even without sticking to your hands: lightly grease your hands with cooking spray or butter, or use a piece of parchment paper or wax paper. Press the mixture down firmly and evenly into the pan. Don’t press too hard, or your treats will be dense and hard; instead, aim for a firm but gentle press to compact them so they hold their shape. Make sure the top surface is as smooth and level as possible. This will make cutting them later much easier and give them a neater appearance.
Let the treats sit at room temperature for at least 1 to 2 hours to set completely. Resist the urge to cut into them too early; they need this time to firm up properly. If you cut them while they are still warm and gooey, they will likely fall apart. Once they are fully set and firm to the touch, you can cut them into squares. I usually cut mine into about 2-inch squares, but you can adjust the size to your preference. For clean cuts, use a sharp knife that you’ve lightly greased or wiped with a damp cloth.
Tips for Perfect Treats
If you want an extra flair, you can reserve a few chopped Oreo pieces and press them gently onto the top of the treats immediately after pressing them into the pan. This gives them a really nice finished look. You can also drizzle melted chocolate over the top for added decadence.
Storing these treats is simple. Keep them in an airtight container at room temperature. They are best enjoyed within a few days. If they start to get a little stale, you can gently warm them for a few seconds in the microwave to revive their gooeyness. Avoid refrigerating them, as this can make them hard and chewy. Enjoy your homemade Oreo Rice Krispie Treats! They’re a surefire hit for all ages.
Conclusion:
These Oreo Rice Krispie Treats are a fantastic way to impress with minimal effort. They take a beloved childhood staple and inject it with the irresistible flavor of Oreos, creating a chewy, chocolatey, and crunchy bar that appeals to everyone. The simple process makes them approachable even for beginner bakers, and the delicious result is always a hit. Serve them cut into squares at your next gathering, or enjoy them as an afternoon pick-me-up with a glass of milk. They store well, meaning you can make a batch ahead of time for easy snacking.
Variations:
Feel free to add a drizzle of melted chocolate over the top for an extra touch of decadence, or sprinkle some colorful sprinkles on top before they set for a festive look. You could also try using different flavored Oreos, like mint or peanut butter, to change up the taste.
FAQs:
How do I prevent my Rice Krispie Treats from getting hard?
Make sure not to overcook the marshmallow mixture. Stir it gently over low heat until just melted. Also, don’t press the mixture down too firmly into the pan; keep it light and airy for the best chewy texture.
Can I use regular sized marshmallows?
Yes, you can substitute regular marshmallows for mini marshmallows. You’ll need about 8 cups of regular marshmallows to equal the 20 ounces of mini marshmallows. Melt them over low heat, stirring constantly.
How long do Oreo Rice Krispie Treats last?
Stored in an airtight container at room temperature, these treats will stay fresh and chewy for about 3 to 4 days. If they get stale too quickly, it often means they were pressed too firmly into the pan.
Oreo Rice Krispie Treats
A classic no-bake treat elevated with crushed Oreo cookies, combining the chewy goodness of Rice Krispie treats with the iconic flavor of Oreos.
Ingredients
-
½ cup unsalted butter
-
20 ounces mini marshmallows
-
1 teaspoon vanilla extract
-
1 pinch salt
-
7 cups Rice Krispies cereal
-
24 Oreo cookies
Instructions
-
Step 1
Grease a 9×13 inch baking pan. -
Step 2
In a large saucepan, melt the butter over low heat. -
Step 3
Add the mini marshmallows and stir until completely melted and smooth. -
Step 4
Remove from heat and stir in vanilla extract and salt. -
Step 5
Add the Rice Krispies cereal and stir until well coated. -
Step 6
Add the crushed Oreo cookies (about 24 cookies, crushed) and stir to combine. -
Step 7
Press the mixture evenly into the prepared baking pan using a buttered spatula or wax paper. -
Step 8
Let cool completely before cutting into squares.
Important Information
Nutrition Facts (Per Serving)
It is important to consider this information as approximate and not to use it as definitive health advice.
Allergy Information
Please check ingredients for potential allergens and consult a health professional if in doubt.